
Your cart is empty! Go shopping »
How we do our items?
How to Make Cosplay: A Practical Step-by-Step Guide
If you’ve ever wondered how to make cosplay from scratch, you’re not alone. Thousands of fans search every day for things like cosplay materials list, EVA foam cosplay armor, or how to make cosplay weapons. The good news is that anyone can learn, and the process is a lot of fun once you know the basics.
Step 1. Research and Planning
Every cosplay starts with references. Screenshots, fan art, or even figures of your character help you notice the little details. The more accurate your reference, the better your cosplay will look in the end. Many cosplayers print images or make digital boards before starting.
Step 2. Picking the Right Materials
A common question is: what are cosplay costumes made of? The answer depends on the part of the outfit you’re working on. Here are the most used materials:
EVA Foam Cosplay Armor – Lightweight, easy to cut, and great for beginners. EVA foam is one of the most popular choices for cosplay armor at home.
Worbla Cosplay Armor – Thermoplastic that softens with heat. Perfect for complex shapes and professional-looking results.
PVC, Plastics & Wood – Strong materials for props, staffs, and swords.
Resin Casting for Cosplay Props – Using silicone molds, you can create detailed gems, jewelry, or buttons by casting resin.
Fabric & Sewing – For clothing, people rely on cosplay sewing patterns, spandex, cotton, leather, or even upholstery fabrics.
Step 3. Making Props and Weapons
Props are often what catch the eye at conventions. There are several ways to build them:
3D Printed Cosplay Props – You can model weapons in Blender or ZBrush, slice them, and print on a 3D printer. After that comes sanding, gluing, and painting.
Foam Crafting – With foam sheets, a heat gun, and the best glue for cosplay armor (contact cement or hot glue), you can create helmets, shields, and swords.
How to Make Cosplay Weapons with Resin – For small detailed items, silicone molds and resin give perfect results.
Step 4. Sewing the Costume
When it comes to clothing, nothing beats a good fit. Beginners usually start with cosplay sewing patterns, which can be found online or adapted from real clothes. For advanced work, cosplayers draft their own patterns. The key is choosing fabrics that look close to the reference — shiny spandex for superheroes, heavy cotton for medieval outfits, etc.
Step 5. Painting and Finishing
No matter if it’s foam, Worbla, or a 3D print, the paint job is what sells the final look. Some tips:
Always prime before painting.
Use acrylics or spray paints for a smooth coat.
For a metallic or battle-worn look, try weathering techniques.
Seal everything with matte or glossy varnish to protect the paint.
This step is so important that many people specifically search for painting cosplay props tutorials.
Step 6. Assembly and Wearability
Once all the pieces are done, they need to be put together. Straps, Velcro, magnets, or buckles keep armor wearable for long hours at conventions. It’s also smart to test movement and comfort — because looking cool doesn’t help if you can’t walk or sit down.
Conclusion
Learning how to make cosplay costumes step by step isn’t about mastering everything at once. It’s about experimenting: cutting your first foam piece, sewing your first tunic, or painting your first sword. With the right cosplay materials list and a bit of patience, anyone can transform into their favorite character.

Custom Cosplay Commissions – Props, Costumes & Armor
Welcome to our cosplay and props studio!
We’ve been creating custom cosplay costumes, props, and armor for many years, and every project is special to us. Whether it’s a favorite hero from anime, movies, or video games, or a unique design of your own, we can bring it to life. Just share a picture or reference, and we’ll take care of the rest.
Making a proper cosplay item is never a quick process. It always starts with 3D modeling. For example, if you’d like a Star Wars blaster or a weapon from Destiny or Overwatch, we carefully collect references and recreate it in Blender, Maya, or ZBrush, making sure the shape is as close to the original as possible.
3D Printing & Assembly
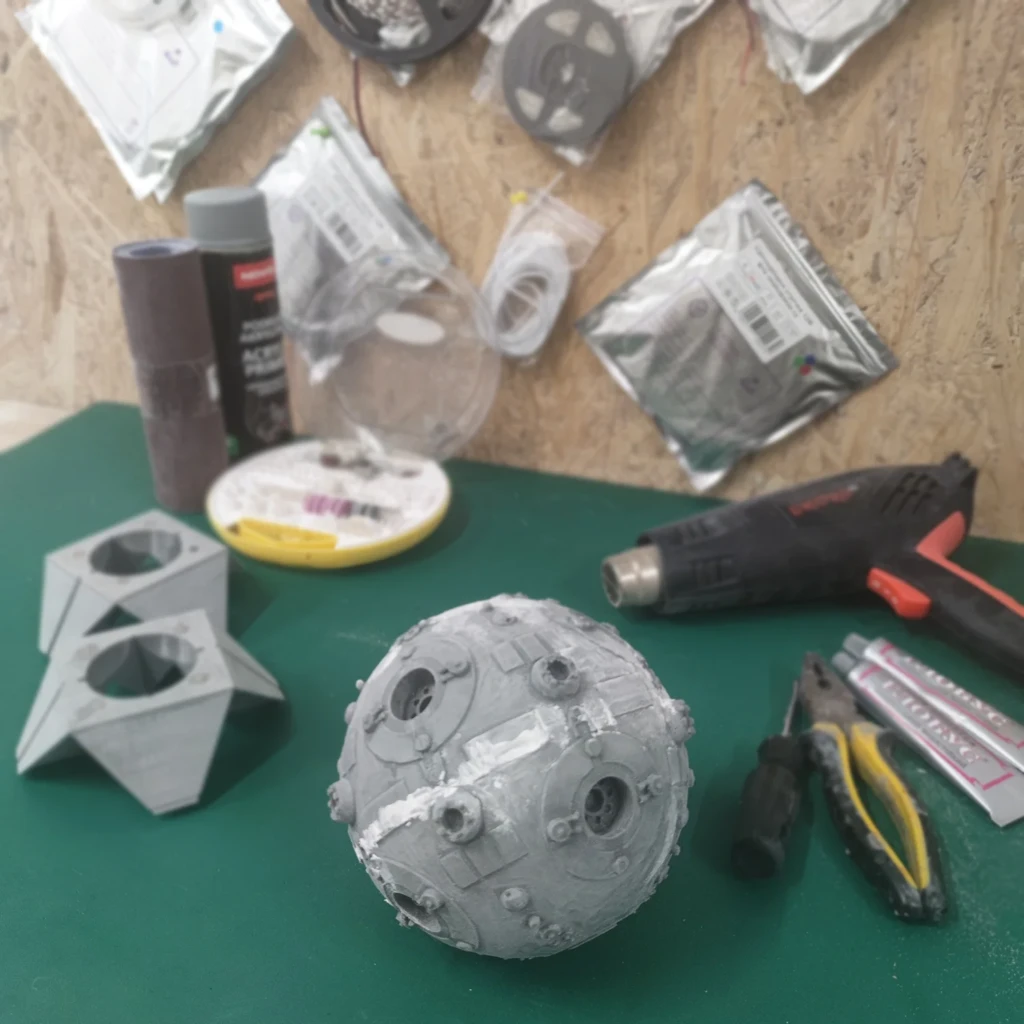
When the digital model is ready, we prepare it for 3D printing. We work with reliable PLA plastic and high-end printers, so the result is both durable and safe.
After printing, comes one of the longest parts — assembly and sanding. Each piece is cleaned, smoothed, glued, and carefully shaped until the surface looks just right. It’s a time-consuming job, but that’s what makes the finished prop look professional and ready for stage use or display.
Painting & Detailing
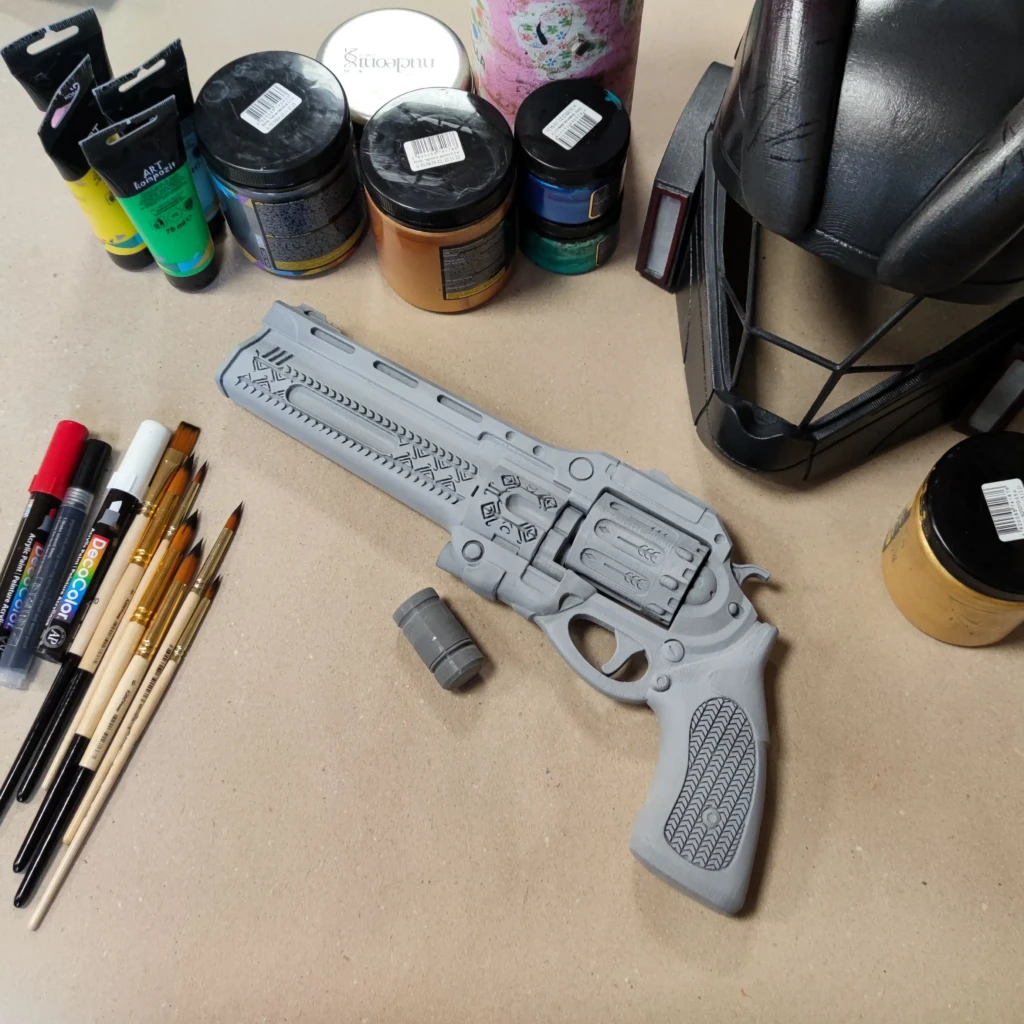
Painting is where the prop really comes to life. Our painter works with acrylic paints, airbrush, and brushes to highlight every little detail. Depending on the project, we finish it with a glossy, satin, or matte coat, so the final look matches the character’s design as closely as possible.
Materials We Use
Not everything is 3D printed — sometimes that would be too heavy. For larger builds, we combine different materials like EVA foam, Worbla, resin, or fabrics. This way we can create big cosplay wings, armor parts, or staffs that look impressive but are still comfortable to wear.
What We Can Make for You
Helmets (sci-fi, fantasy, anime, Marvel, Star Wars)
Armor sets (3D printed, EVA foam, or Worbla)
Props and weapons (swords, axes, blasters, staffs)
Costume parts & full outfits
Wings and custom accessories
Every commission is made to order, based on your size, budget, and preferences.
Why Choose Us
We don’t resell mass-produced items. Every project is hand-crafted and custom made, with as much detail as possible. Whether you need something for a cosplay convention, photoshoot, or just a personal collection, we’ll make sure it looks the way you imagined.
If you’re thinking about a custom piece — big or small — feel free to reach out. We’ll be happy to discuss the idea and bring it to reality.
📩 Contact us today and let’s make something epic together!
10 May 2016
